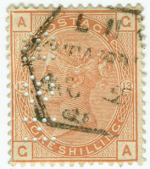
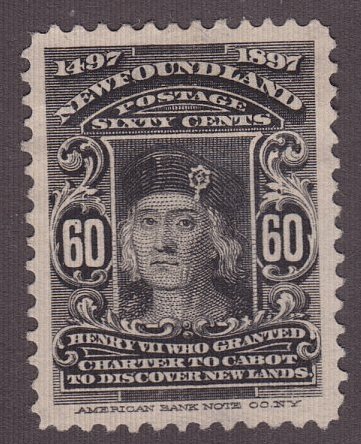
Using your own computer and printer
by Kenneth Perry
20th of July 2010
First of all I'm not necessarily talking about drawing and printing an entire stamp book as I have done. If you collect specialties you can add small personal touches to make it your book, or a section thereof.
First of course you will need a three ring binder. I chose the one inch variety (I have 8 books in different colors for separation of dates) but you may wish to use the larger sizes if your book is to be a little more detailed.

Next you will need the clear acetate sheets, acid free, that you can buy at your local department store or paper goods outlet. You will need to find Scotch "REMOVABLE" double stick tape also. This was the ONLY tape I found acceptable for the project. It allows removal over and over without damage to the backing.
Of course you can select any color and bond weight paper but remember you will need to experiment many times before getting it just right so white paper of lesser quality is best to start.
Finally you will need an acetate mount to protect the individual stamps, whereas I use only Showgard because of their quality and preservation of the stamp. A note here is these mounts are not cheap and may actually cost more than the worth of the stamp, however it's the display that is important. I have mounted my stamps in clear mounts because it uses less space than the black-backed ones, that of course is another personal choice.

Let us begin: I suggest you carefully select the stamp(s) and lay them out on a piece of white computer paper. Move them around to see how they fit best. I personally have all stamps in a position as to read them without turning the page but that is a personal choice. If you're happy with the design draw a light pencil images around the stamp(s) at least one/eighth-one/quarter and measure the distances to enter into the computer. The larger separation will allow most borders from your computer program.

Although I prefer WordPerfect this process can easily be done in Word. Remember to save your work often so that if something goes wrong you won't have to redo work that may have taken some time to complete.
This is where the fun really begins in the design and layout.
With these measurements you can now enter into your word processor program and make the proper box sizes. Obviously duplicate size boxes can just be copied and pasted. I use different type borders for the various entries, such as, single line for single stamps, double line borders for plate blocks and line pairs, and finally 3d type borders for envelopes and memorabilia.

Once you have the movable frames on your page you can print words, add other images (even add b&w images within the frames of stamps you may not have acquired yet).

I have found in my experience that the lines (and words in my case) should be black and allow the stamp(s) to add the color to the page. Once the page is completed you just insert it into the clear acetate covers. (I sometimes add additonal extras behind the pages). Your stamps are now displayed in mounts taped to the page and protected by the acetate cover.

This is only a short synopsis of how I did my books and you may add or delete whatever you desire ... it's the fun of making such a book and the beauty of the end result.

Ken Perry


