I am learning more about stamp collecting and am finding it hard to find out about litho stamps how do you know how to test for them? anyone there know thanks
it's easier to tell stamps that ARE NOT lithographed than that are.
Engraved stamps will feel rough to the touch because the ink sits above the paper, put there from plates with recessed lines
Gravure (computerized engraving) can be determined with a decent magnifier; it's a series of dots
Letter press (no longer in use for stamps) has depressions on the back of the stamps, made in much the same way that a typewriter smashes into paper
so, if it's got none of these, it's likely to be lithography, which should show up as solid splashes of color. The process is an interesting one, but understanding the process won't help you identify the stamps, except that it's not one of these other processes.
hope that helps
David
7 Members like this post. Login to Like.
"Save the USPS, buy stamps; save the hobby, use commemoratives"
Krondor, I'm pretty new at this myself but I'll tell you what I do. Get a small piece of aluminum foil, the thinner the better. Place it shiny side down on top of your suspected offset. Holding the foil in place, rub your finger over the foil and then examine the underside of the foil (the side that was against the stamp). Engraved stamps will leave an impression on the foil, offsets will not. Try this first with a known engraved stamp so you'll learn thru trial and error how hard to rub and how to tilt the foil under the light to look for the impression. If anyone has a better suggestion, I hope you'll let us know. Larry
I myself, don't have a problem with engraved and litho., my problem is distinguished between photo. & litho. any suggestions, there. Of I Aaam getting older and the eyesight not what it used to be. lol.
Login to Like this post
" I have a burning love for stamps. Lord A'mighty ,feel my temperature risin'! "
I may be wrong,and I'm sure someone will set me straight but,, I seem to recall that litho is rough or uneven edges to the images,where as the photo has clean edges. Look at the numerals(price) (easiest part).Naked eye or slightly magnified will show the differences. First compare known examples then use those as comparison. TOM
Merv, that's great. now if we could only get Scotts to incorporate this page into their catalogs,and same for all the varieties ww, they would greartly enhance their catalogues and help the collectors both specialists and novice alike. TOM
The biggest problem is telling typo. from litho. I have been collecting for years and I still can't tell the difference. Indian officials are the bane of my life as are the 1977 "Castles" of West Germany.I am told that on one the lettering and design are raised but on the other they are flush. My fingers are not so delicate that they can differentiate !!! Date stamps can help for used copies - but some issues have the both in service at the same time so it is not foolproof.
Malcolm197, To tell typo from litho, I use a small field 20X magnifier. Look at the thin lines on the design. The border is usually the best. If typo, you will see some squeezing out of the ink along the edge of the line. If litho the line will be uniform with no ink ridges or dots along the edge. This can vary due to different pressures used in the printing process. I use the same magnifier to tell photo from litho as shown in the illustration linked above by Cornerpost. Hope this is helpful. Bob
I used to have a big problem with Typo vs Litho, especially the 40s-50s Argentina. So I went to a stamp dealer, and explained my problem. He showed me how to tell them apart. Then he suggested I buy a cheap stamp (MNH) from Argentina that is printed both as Typo & Litho., for example Argentina #628/629 or #630/631. He recommended I buy two of each one. Mount one pair in my album, and keep the extra two in marked glassines, for use when I sort more Argentina again.
This method could be used for other printing methods as well. Choosing MNH copies, ensures that your reference stamp is easy to use and not obscured by black ink. I keep samples of many different printing methods, from dozens of countries, that show very clearly how to tell these stamps apart.
Always examine with at least 10-20x quality multi element magnifying glasses. Cheap optics will eventually cause you problems with your vision, due to the eye strain they cause. I lifetime of using them will cost you dearly in your later life. Here is a link that explains what this distortion is and what it looks like: http://photographylife.com/what-is-chromatic-aberration. If you use the advice given there, it will help you to buy a quality optical device.
There are also some new high tech microscopes in the 10-30x range that will display on your computer screen. That is great for us old geezers whose vision faded years ago. They cost a modest $50-$100. About the price of a good quality UV lamp.
I also use the aluminum foil method just to be certain in distinguishing lithographed from engraved stamps. Put thin aluminum foil completely over the stamp. While holding the stamp and foil firmly in place, rub the foil directly over the stamp gently with a soft pencil eraser, and then examine the top of the foil for results. If you see lines from the stamp design, its engraved, otherwise litho.
Silence in the face of adversity is the father of complicity and collusion, the first cousins of conspiracy.. 23 Jun 2014 11:15:53pm
re: How to Test for a stamp that is Lithography
The easiest way with Machins is to examine the borders where it inked image and un-inked numerals meet.
If the border is ragged the stamp is Photogravure, if sharply delineated it is Lithographed.
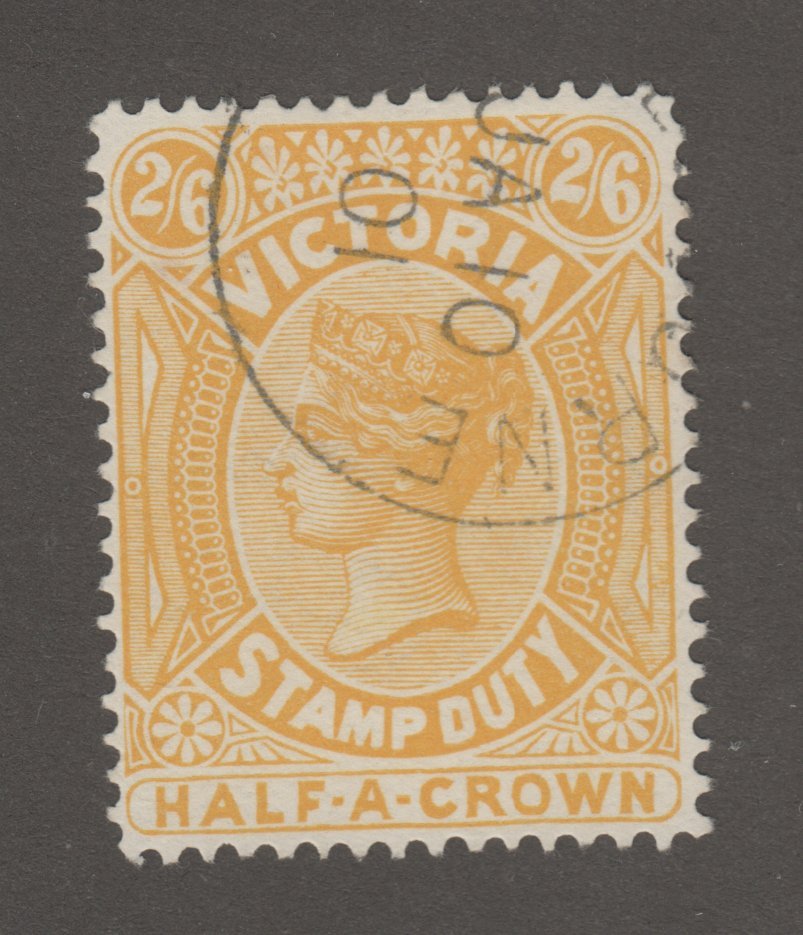
An excellent practice issue would be the common 2 penny green. They should be easy to find, but if someone wants to see the difference send me a message.
1 Member likes this post. Login to Like.
".... You may think you understood what you thought I said, but I'm not sure you realize that what you think you heard is not what I thought I meant. .... "
I just re-read some of the replies in this thread. I have been able to easily identify engraved stamps by visually observing the raised ink on the surface.
Before you rub any more stamps with aluminum foil, THINK FIRST ABOUT WHAT YOU ARE DOING, DAAH. Aluminum is very very soft. Take a piece of very bright white blank ink jet copy paper, and rub it a few seconds with a piece of foil. Notice the grey streaks on the paper, DAAH. Aluminum, Brass, Zinc, Copper, and Lead are all too soft for what you are doing. Almost all non-ferris metals will streak on paper and other porous materials.
Using Aluminum to detect engraved stamps is almost as dumb as drying stamps on newspaper, and finding out that some printing inks will transfer to your stamps. There are so many ways to detect engraved stamps that this is totally unnecessary.
Here is another heads up about inks. The inks used in the Scott catalogs (the newer color ones on glossy paper), will smear very easily, when you touch the page with your finger. If you have not just washed your hands a couple minutes ago, try this experiment.
Find a page with an ad of a stamp dealer, that you don't like very much. Place your finger firmly down on Charles Firby's face, so the skin oils can contact the printing inks. Wait about 30-45 seconds, and slide your finger across the ad without lifting. Guess where those smears came from. Was that fun or what?? They would probably also transfer to a stamp, that was placed there just after performing this fun little experiment.
Also, here is a good idea to avoid smearing these inks, when flipping thru the catalog pages. Go to an old office supply store, and look for an item called a rubber finger. It fits over your index finger or thumb up to the first knuckle. It has little bumps on the outside to grip paper better. It also has small holes for ventilation. Bankers used to use them, before all those fancy mechanical banknote counting machines, for counting currency quickly. They come in assorted sizes for a good fit. If you wash the rubber finger after each stamp session they will keep your pages clean. Also good for the stamp album pages too.
I've never had a problem using quality aluminum foil (i.e., Reynolds Wrap) to detect engraving, but your mileage may vary. I've tested this against white paper, rubbing soft pencil eraser over aluminum foil, and it doesn't leave any discernible marks (nor does scratching with finger nail, but I wouldn't recommend doing that or anything abrasive). Using low quality foil might pose problems. I haven't tested that. I don't use low quality foil.
No stamps I have used this technique on have been harmed in any way.
Sure just eye-balling the stamp is certainly safer. Others have recommended gently rubbing finger on stamp (that is likely less safe). Just eyeballing a stamp requires experience that not everyone has.
The past is a foreign country, they do things different there. 27 Jun 2014 06:36:49pm
re: How to Test for a stamp that is Lithography
Lithography experts:
Just got to love this major commentary on a minor concern for me.
The theme song for Stamporama's discussion board should be
"It's my party and I'll cry if I want to".
John Derry
Login to Like this post
"Much happiness is overlooked because it doesn't cost anything. "
Bet you didn't know this. Recycled Aluminum isn't used for foil, or beer cans. Because it is recycled, it has slight impurities. Still good enough for cast Aluminum rims for your car, or aluminum pistons, but can never be drawn thin without tearing. Beer cans, just like Reynolds Wrap are drawn or rolled very thin. When impurities are present the material will tear or have voids.
I used to be an Industrial/Manufacturing Engineer, and as such had to learn all about properties of materials. Your quality of foil is not a factor, all aluminum foil is identical. The only difference being the ads on TV!
Identifying engraved stamps is easy to learn, when someone shows you how. Your local stamp club should be your first place to ask a veteran collector how to identify. Another place to ask is a stamp dealer, or stamp show/bourse.
Your "Aluminum Foil Method" you use may require more skill than you think, and you are just lucky enough to know how to do it that way, whereas others probably would not.
If you buy stamps that are printed by two different methods and use them as a standard, you can teach yourself what to look for. I taught myself to sort Lithography from Typography by using stamps from Argentina that were issued both ways. I still have them handy to this day as a sure way to know which is which.
That was an interesting technical lesson on the Washington/Franklins. Here is another way to tell flat plate from rotary, I thought I should share with the club. These are still available from Subway and I've seen them on FeeBay also. I bought mine about 30 years ago. The useful thing is the upper-left corner. Also the MM scale that if you look closely you will notice it is graduated in 1/4mm.
Years ago I purchased a Magnifier, I think is called a comparater or measuring magnifier. It has multi-element optics for good image quality, a clear plastic tube for good lighting, and bottom of the tube has a removable glass disc with etched inch and metric scales of extreme accuracy, and small circles of various diameters. I purchased from a catalog of Mitutoyo Machinist's tools when I was an engineer. It has 8x magnification and sold back in the day for about $20-25. A good price for such quality optics.
BTW, with a good glass and a sharp eye, you can usually tell the direction a photo stamp was run though the printer, something that can help identify and separate some almost identical Machins.
For more detailed technical information, Robin Harris recommends "The Complete Deegam Machin Handbook" which is available on a disc and contains a wealth of data as well as an encyclopedic compendium of stamp knowledge, applicable not just to Machins but all stamp creation.
1 Member likes this post. Login to Like.
".... You may think you understood what you thought I said, but I'm not sure you realize that what you think you heard is not what I thought I meant. .... "
Just as an addition to this thread I was having problems with the Hong Kong 1993-6 QE2 set as it was produced with some values also in Litho.
Having bought myself a cheap USB Microscope, I snapped the following pics which made ID much easier.
As an addition I find it helps identify plate numbers on 1d. reds as well.
Litho first then Photo.
I'm sorry to say that I can't make this a live link....my out-of-date browser is behaving badly
Maybe a moderator can activate this link for me...thank you moderator.
This thread was posted by gslaten (username), and he is a new member, that just joined in
January. Thank God for new members. Just because they are new here doesn't mean they
don't have years of expertise to share with us.
The thread shows detailed photos of a device that can positively sort engraved stamps from
all the others. Most stamps are printed from four different basic methods....they are:
4) Photogravure another very flat type of printing
Gslaten's method of detection, involves a USB microscope used in a vertical poition and with
the light off, and a LED flashlight used in an almost horizontal position at a very acute angle,
with the light on. This angle causes shadows to be cast by the raised ink on engraved stamps.
This method can't sort the printing methods in 2), 3), 4). However if you turn on the USB light
and turn off the LED light and take photos like the ones provided by sheepshanks and by
cdj1122 you will be able to tell the others apart.
I intend to get one of these and the LED flashlight as soon as I can. I will also add a AC power
supply, using a linear IC voltage regulator chip and discrete components.
Everyone on here should take up a collection and buy gslaten, sheepshanks, and cdj1122 each
a bottle of 12 year old Scotch!!!
The "foil" and "fingernail" method will not work for sorting 2), 3), & 4), and may damage the stamp.
I know that this microscope method will be much faster than ANY OTHER method.
@Tusken, make mine a bottle of Laphroig if you are feeling generous.
The usb micro I purchased was "Generic Portable 5MP 50X-500X " at $30CA, It took a bit of getting used to, mainly moving in the right direction. The stand is inadequate and the program seems not to have been updated for Windows 8 or 10 but is running on 7 and 10 at present. Better on 7.
Image capture took a while to figure out and it is capable of video capture and strangely (or perhaps worryingly) the program can be used to turn on the laptops built-in cam.
User guide in disc folder is basic and not overly helpful.But hey it works and was cheap.
Vic
@ Ningpo, mine has an adjustment wheel dimmer switch in the cord, I assume it merely reduces the voltage to the LED light unit without affecting the magnification system.
Mine too but it dims and brightens even when that wheel isn't touched. It's driving me mad. Wish I knew some electrontrickery, then I would pull the thing apart and fiddle around.
Edit:
I've just noticed you mentioned the adjustment is in the cord, not on the wheel on the body like mine. So different design.
Well I have just migrated from my old tower system to a desktop beast. This sports 10 USB ports (I know I had one duff one on the old system) and I'm being spoilt with 4Gb of RAM. So I'm a boy racer now!
I'll try the scope once I'm organised.
Login to Like this post
Please Note: Postings that were loaded from the old Discussion Board cannot be edited.


 They would probably also transfer to a stamp, that was placed there just after performing this fun little experiment.


