Here is my Windows recipe for producing top quality scans for posting here.
1. Scan item using Windows Fax and Scan (just type in "sc" into the search bar at lower left and select.
2. Click on "New Scan"
3. Create a new profile: .bmp scan at 1200 dpi
4. Scan item (this will take a minute or two)
5. Do File, Open
6. Click on Edit and Create, Edit
7. Drag lines (or corners) to crop image.
8. Click "Save A Copy"
9. Open image in Paint.
10. Do, Home, Zoom out until you have the full image on the screen
11. Select Home, Crop to recrop your image.
12. Select Home, Resize, and select something between 20% and 50%.
13. Save as .jpg
You're done!
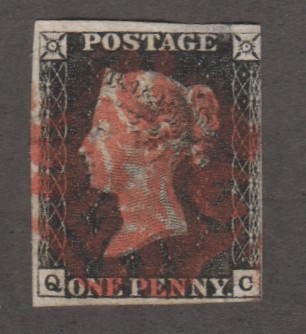
As I wrote this, here is the image I created:
NICE, huh?
Note, if you try to cheat by doing a Preview in Fax & Scan and cropping that, you won't get the resolution.
As Smauggie says, once you click and draw a box around you get image 1 below but before doing anything press ctrl and "s" and name the image and where to save (folder), in case of mistakes you can go back to the original scan.
When you click on the image you will get a cursor line which you drag around the area to crop. You can also move the lines in and out by putting the cursor over a line around the centre when it changes to an arrow which you move to the desired position.
When you have the area you wish press Ctrl and "y".
Press ctrl and "r" to resize then press ctrl "s" to save, at the save box I usually press the "end" key and add a digit or letter to the filename.
With Irfanview you can scan direct by using CTRL shift and "A" to select your scanner, assuming it is connected of course.
You can also add scans side by side or vertically, rotate even change an image to pdf, it really is a wonderful little program.
Many of the commands can be keyboard driven rather than having to use a mouse and open drop down lists. Really does speed things up.
You can also change to greyscale, or negative image as well as altering contrast etc.
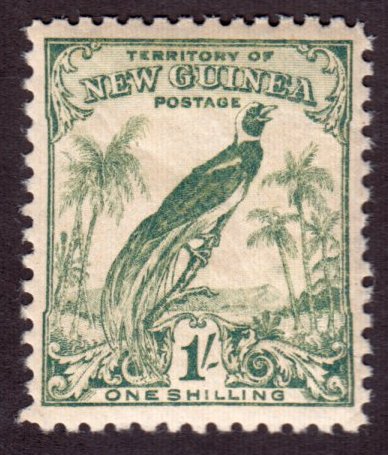
I did exactly as Smauggie and Sheepshanks suggested. The original picture is as follows:
I drew the box around the top 6 and cut out the surrounding area. However when saved, the first image shown in this thread is what I came up with. I tried drawing a box around that image and cut, then saved, but all the black remained as shown in my first scan.
Pigdoc I agree with what you said, but preparing approval book and your scan will not work!
"I drew the box around the top 6 and cut out the surrounding area. However when saved, the first image shown in this thread is what I came up with. I tried drawing a box around that image and cut, then saved, but all the black remained as shown in my first scan."
Try using the "Save As" function in the File menu and save it under a different file name.
Mel, are you sure you are saving the cropped image, rather than the original. I have just cut the following, both from your original image.
and the following is a combined image.
Yee hah, as was said in My Fair Lady, I think he's got it.
Good on yer Mel, it's all as clear as mud now, I guess we stand by for loads of sale items now.
Just make sure when resizing that you don't exceed the pixel settings for Stamporama.